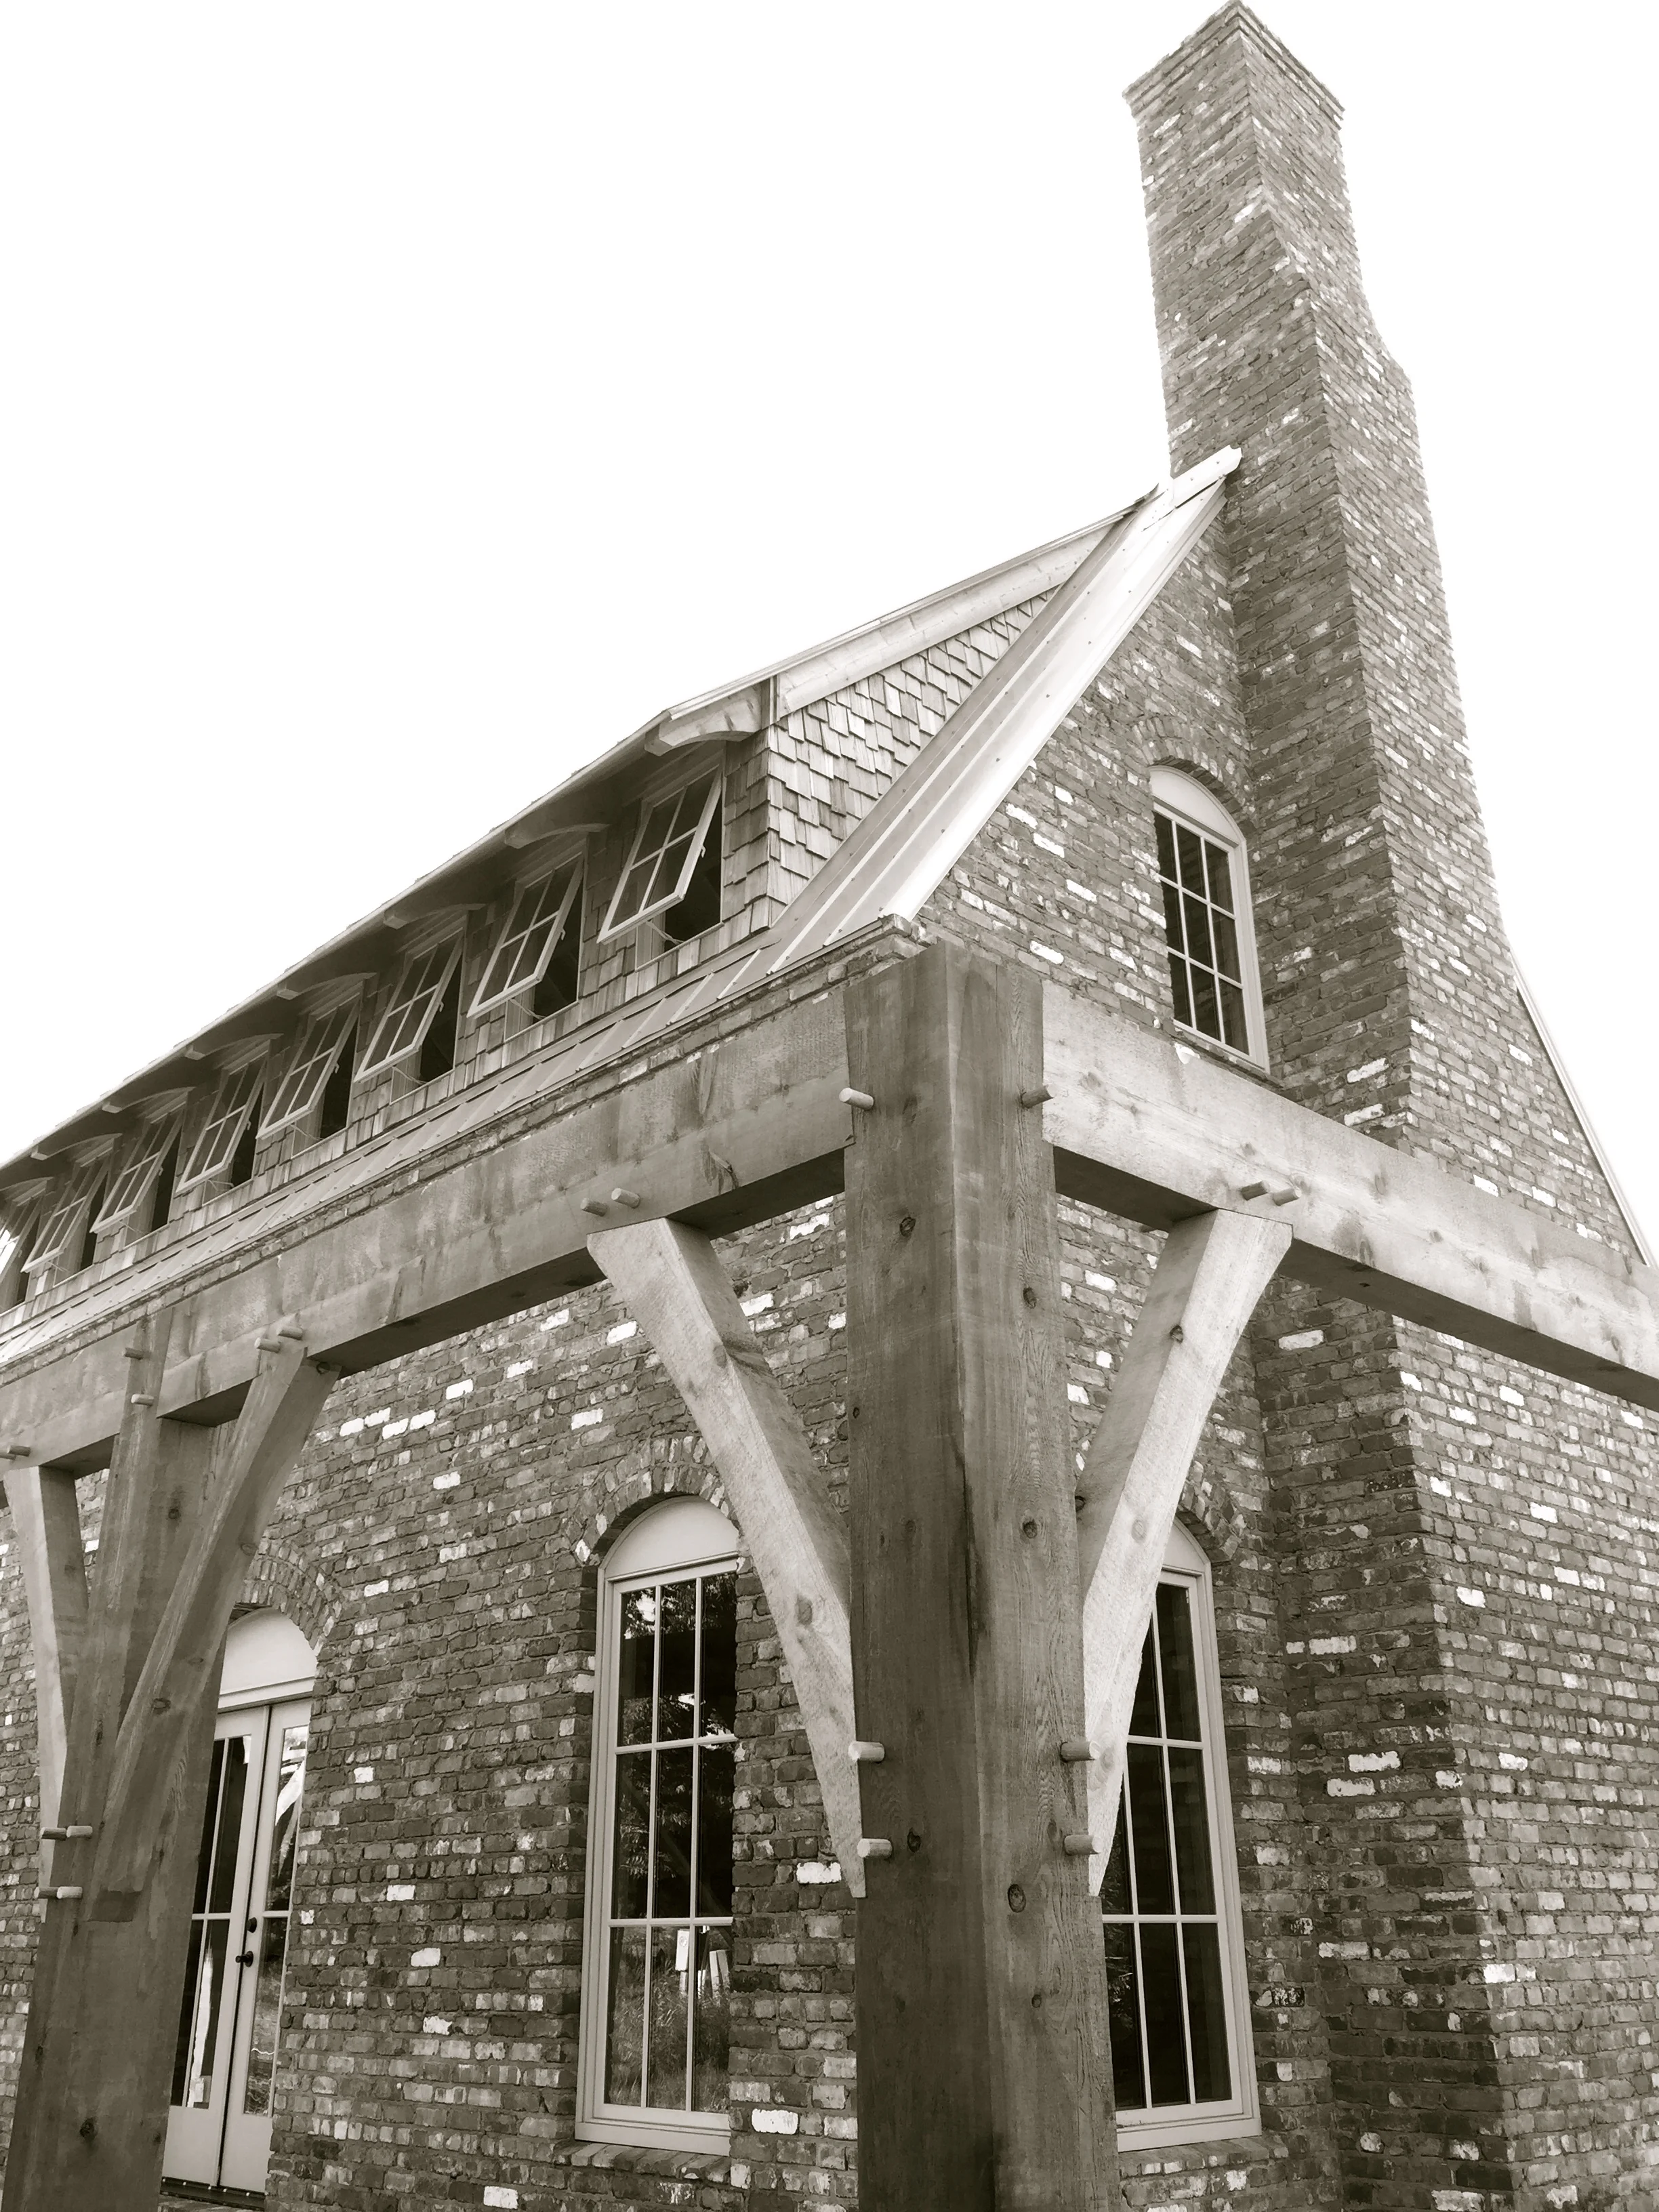
Trimming Out Masonry Windows
Here's a quick rundown of how to trim out a structural masonry window unit. Certainly, this is not the only way to resolve the trim-work. But, it is a clean and simple approach that serves as an example of how to work with mass-wall structures. Note, that the window unit in question is centered within a 13" brick wall, which allows for it to sit 4" in from the exterior face.
1. Begin by tacking up a few 1/4" spacers at the bottom. These spacers serve two purposes. First, they allow for a 3/4" piece to rest against and come flush to the bottom sill of the window. Second, they allow space for vertical strips of 1/4" trim to run along the sides of the windows. Those vertical strips of 1/4" run from the top of the window to down behind the 3/4" sill trim. Allowing for that hiding space saves time and energy as it means that the length of that particular cut is not critical. The first two pictures show how the spacer piece and side trim piece interact. Notice in the third picture how the 3/4" bottom piece cleanly covers all of that up nicely.
2. Now, actually attach those two 1/4" side trim pieces and the 3/4" bottom trim piece.
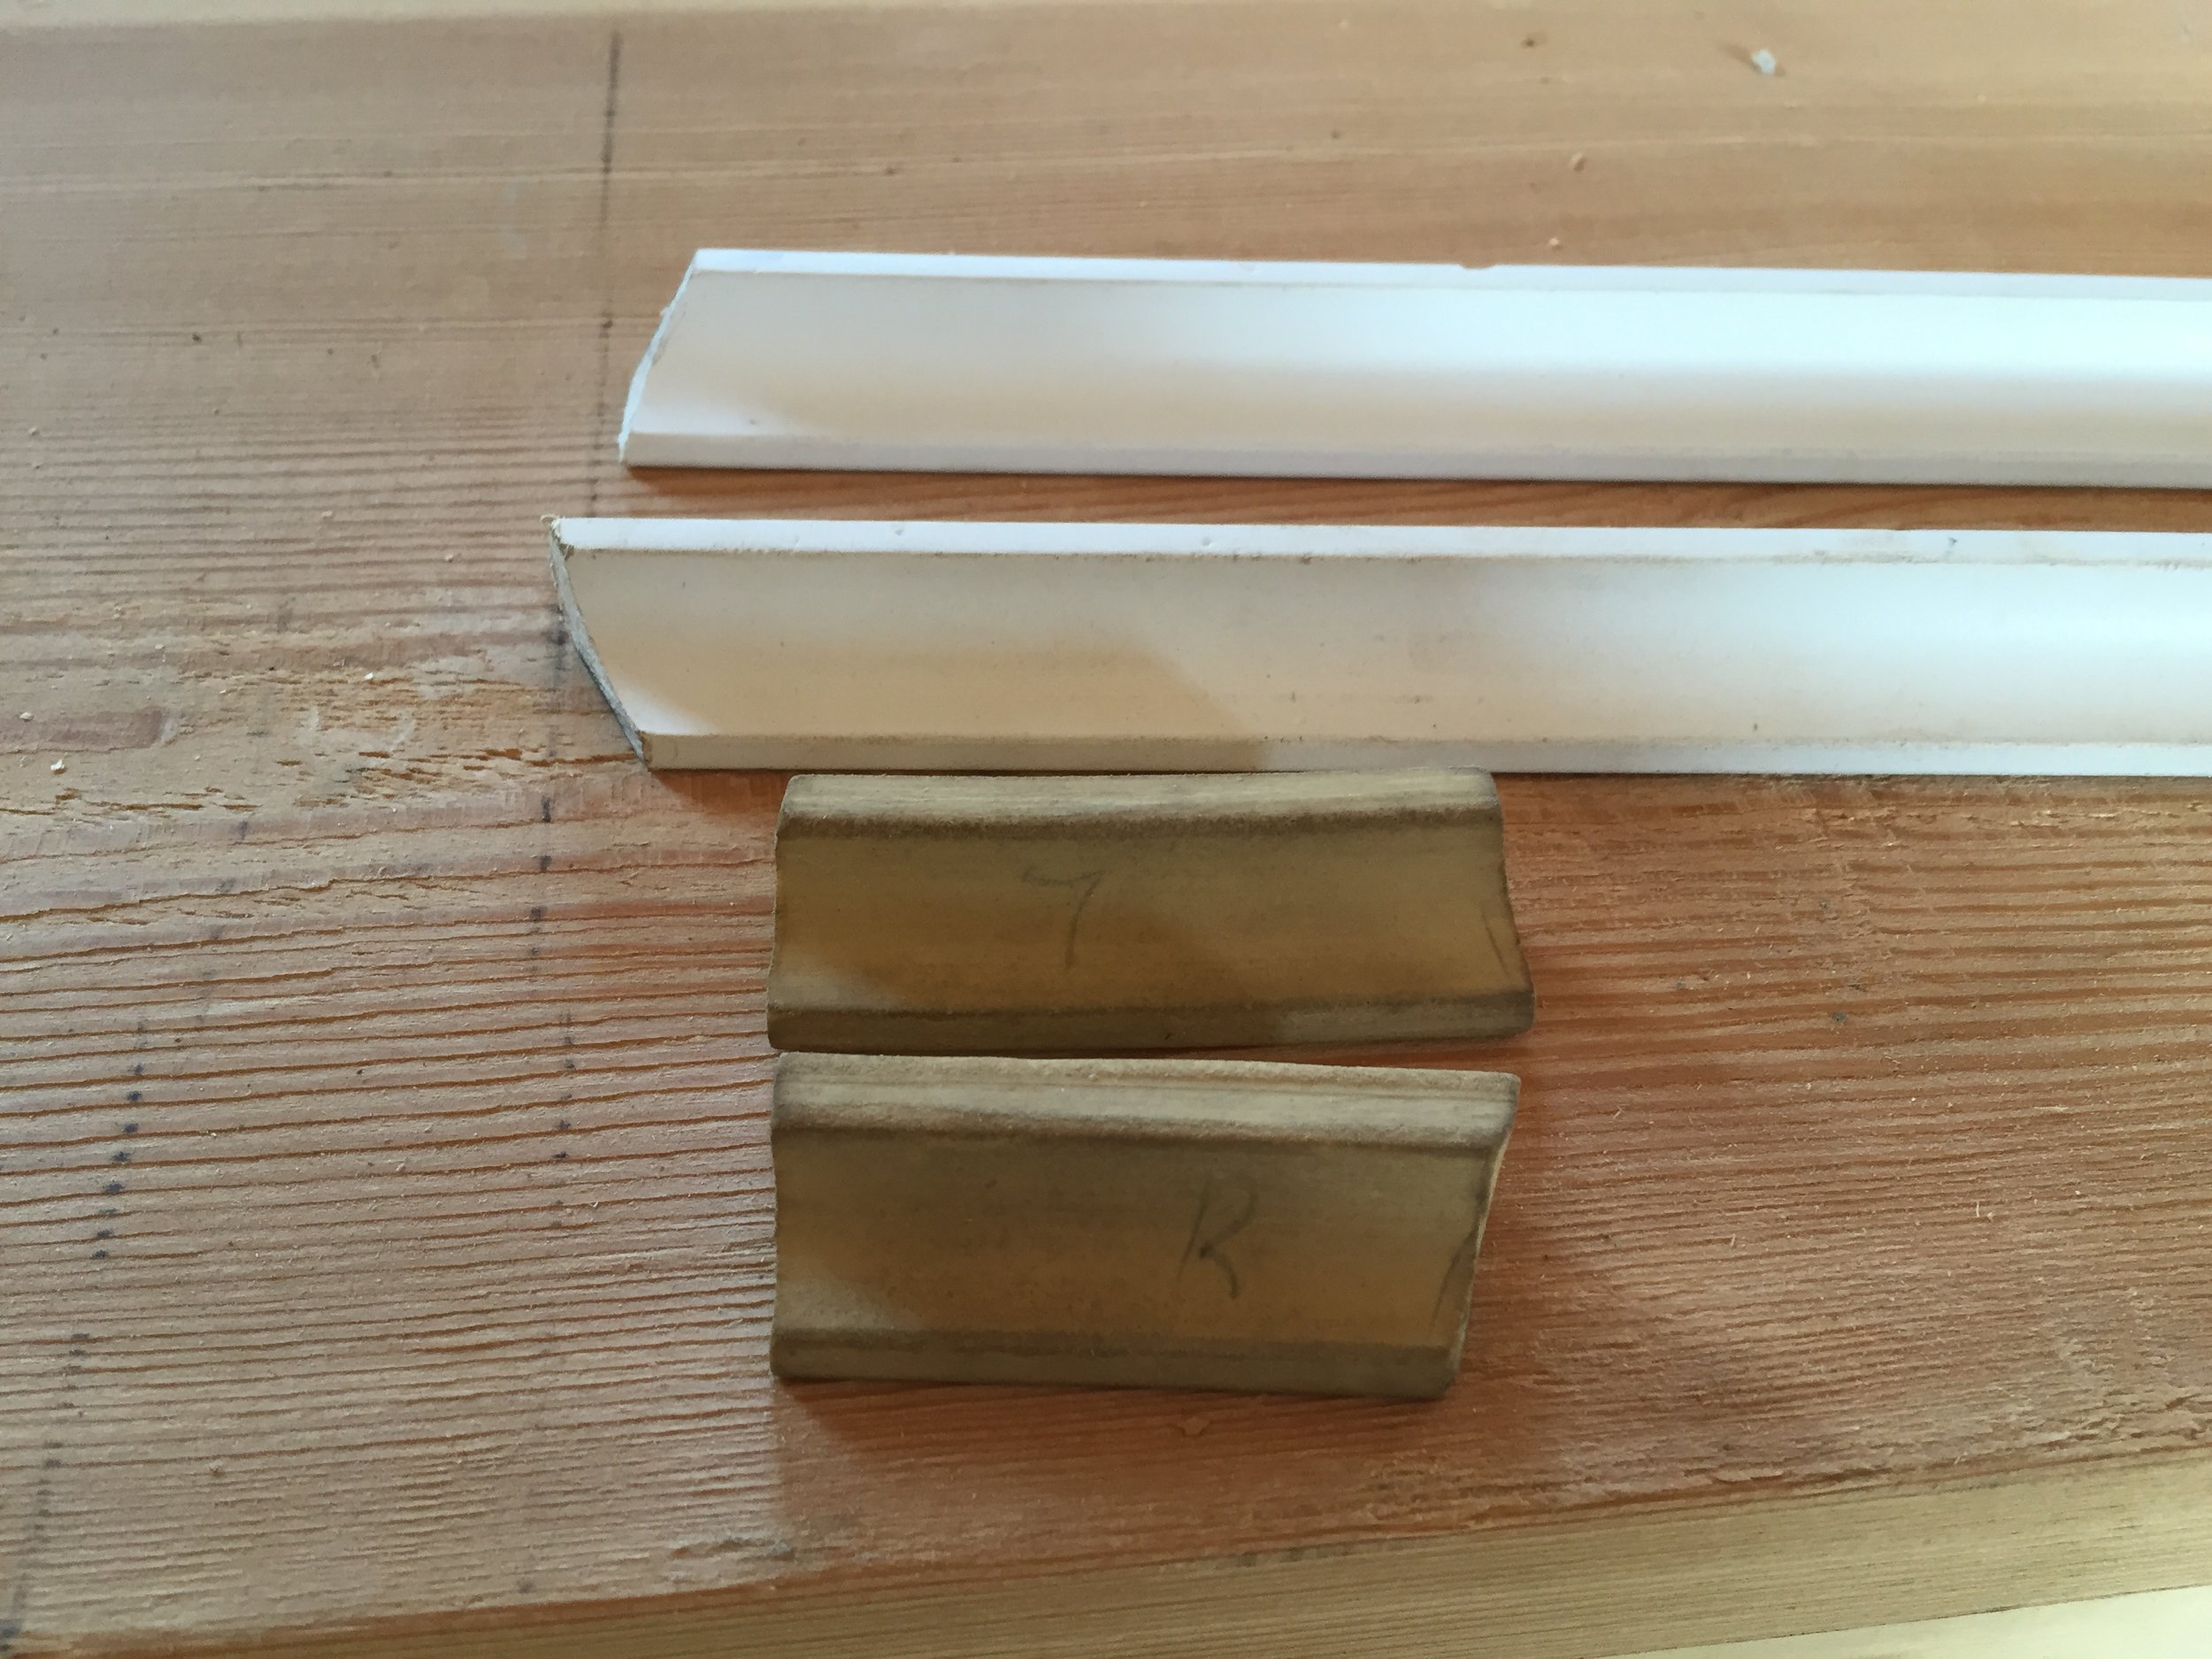


3. The last three pieces are all cove pieces, the sides are pvc and the top is a piece of resin based flex-mold. At first glance getting these pieces to connect well at their mitered edges seems like a tedious task, but fortunately it doesn't have to be. Take the time to make up some guide pieces for each of the cuts that will need to be made. Cut the pvc guide pieces to 6" (note, I've found this length to be serviceable, but it's arbitrary. Just know what the length of the piece is)
Employing these template pieces achieves two results. First, it establishes the correct miter cuts to transfer onto all future pieces. Secondly, it allows correct overall lengths to be cut without any guesswork. By holding up one of the PVC guides and one of the flex-mold into the corner you can mark the bottom of the PVC piece. From there simply pull a tape from the top of 3/4" bottom trim to the mark just made, whatever that dimension add the 6" length of the PVC guide piece to determine the overall length needed to be cut.
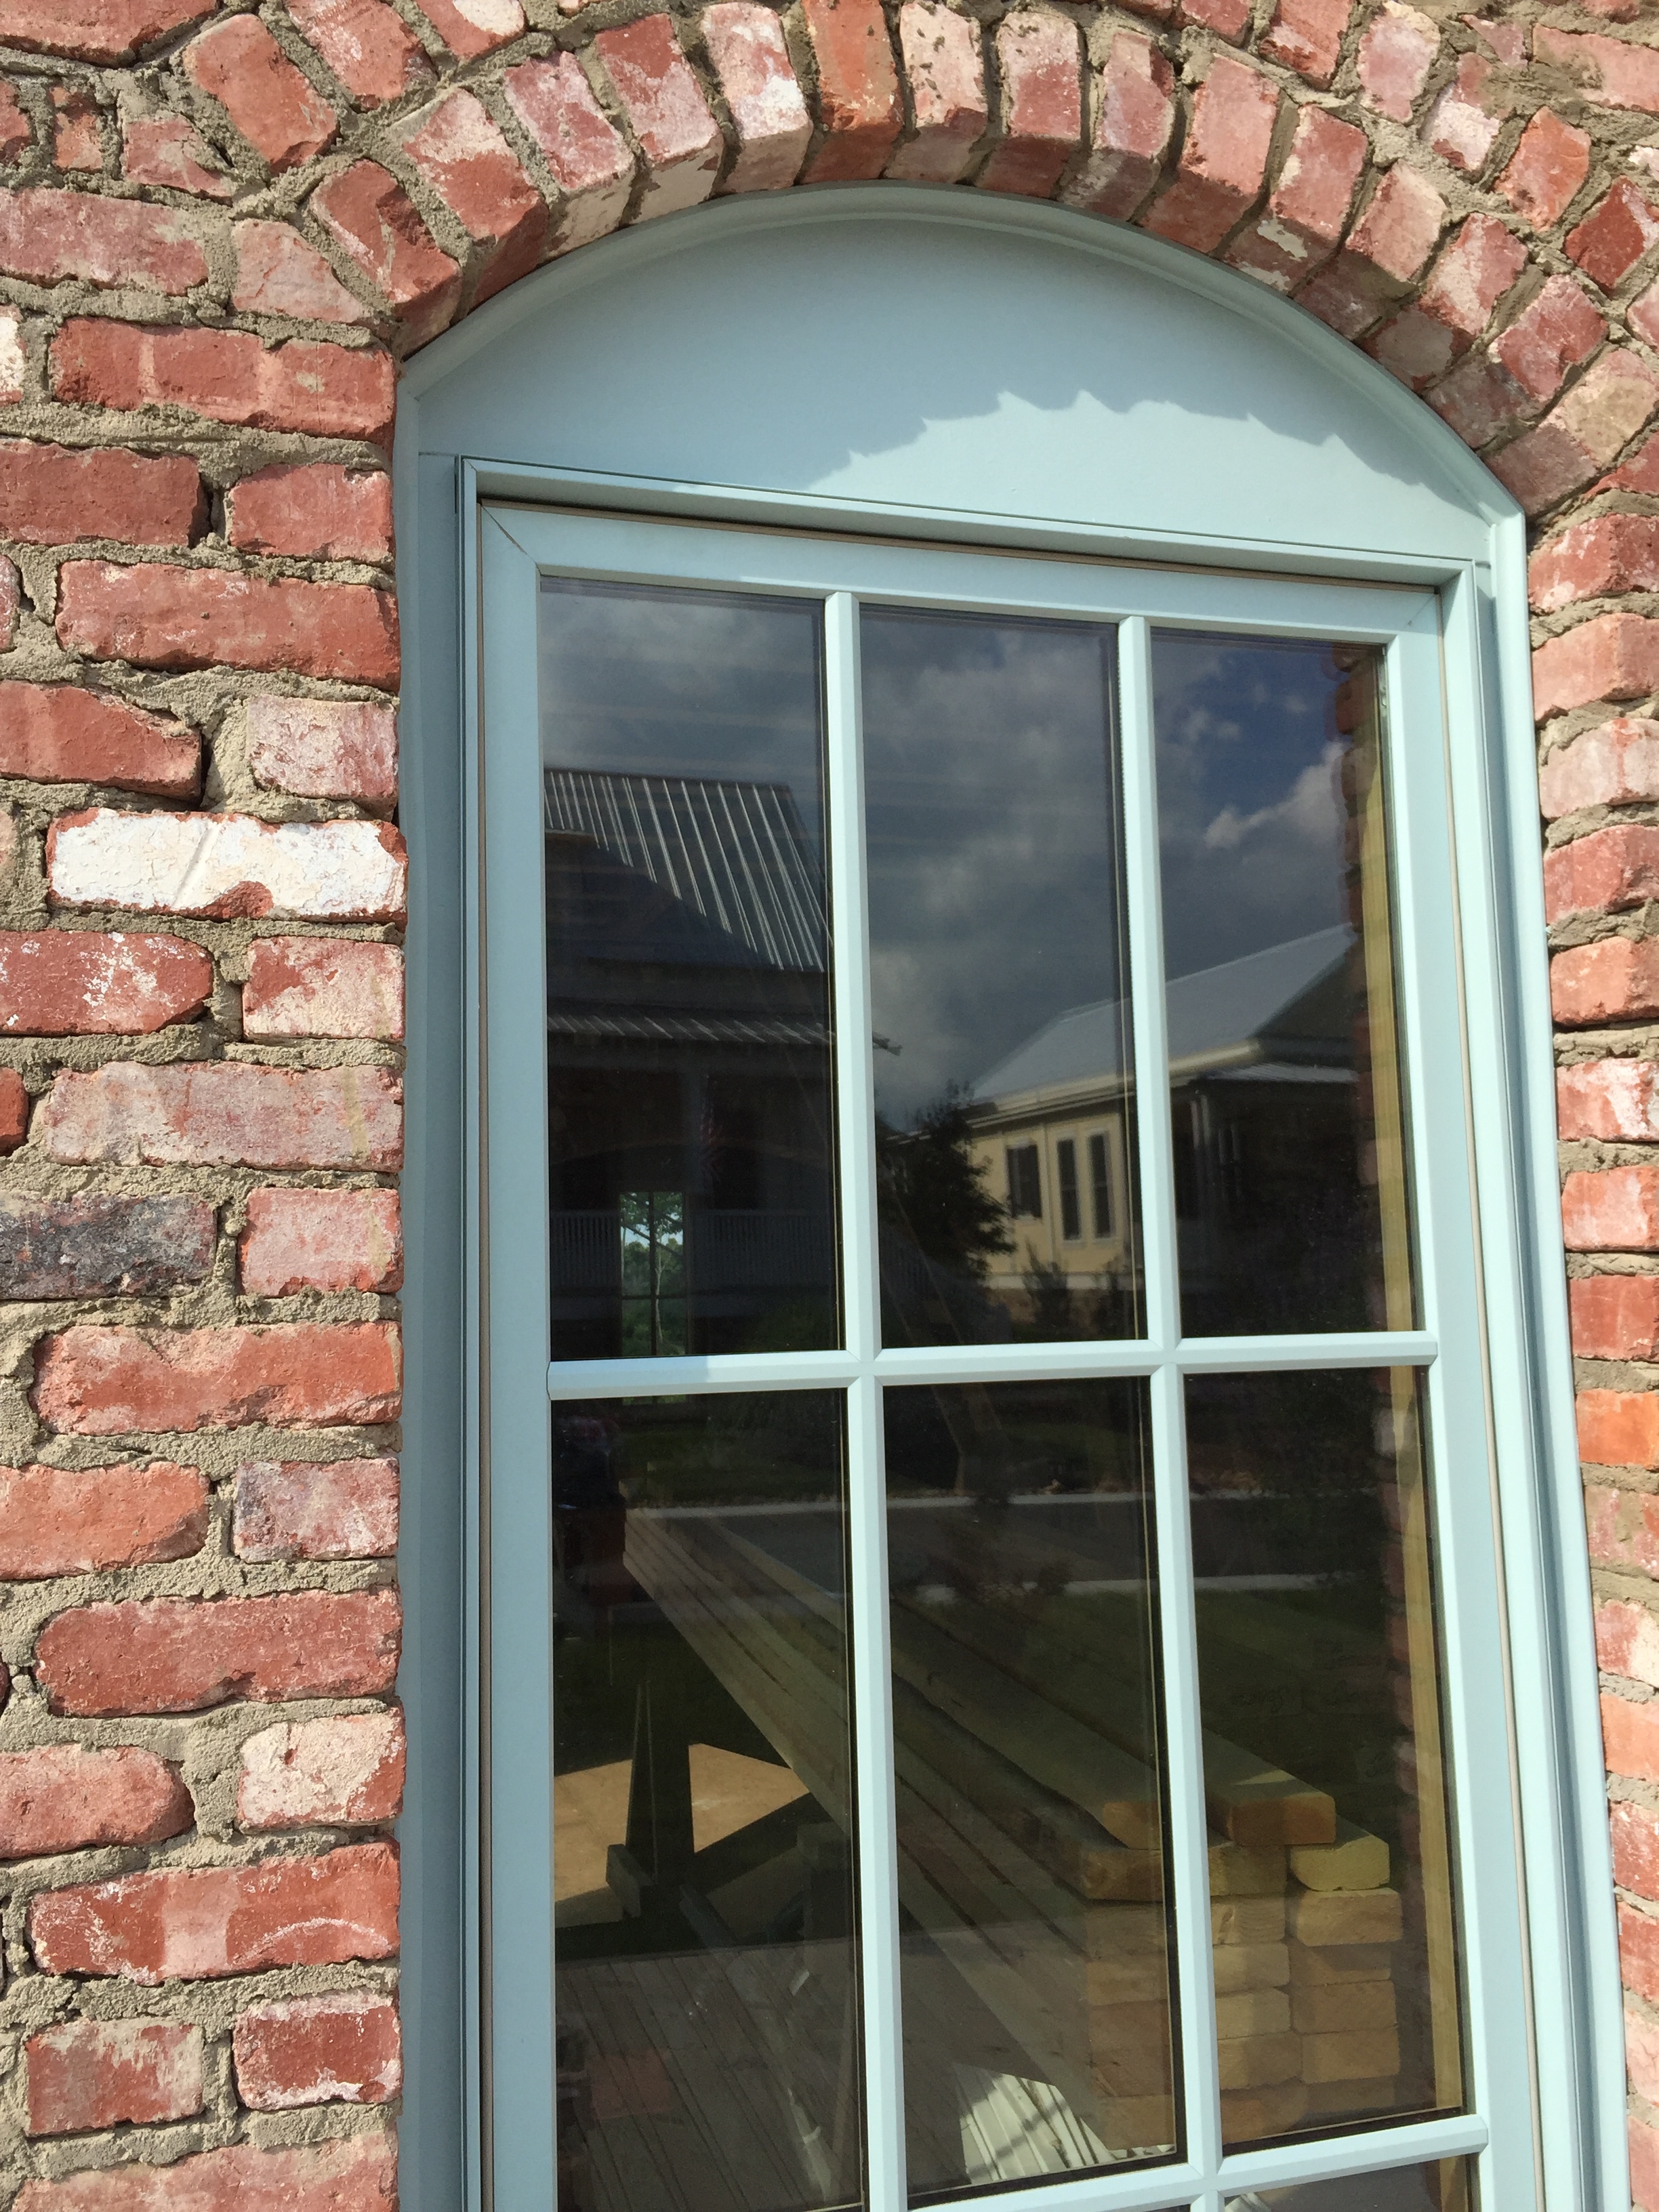
4. The last piece to install is that carmel-colored flex-mold running across the bottom of the arch. Start by tracing and cutting one end of the flex-mold, and then fix it in place. Beginning on that side, press the mold into place and tack it up with trim nails. Hold off on the last 4-6" so that you can eye where to cut the other end. Probably a good time to remember that you can always cut more off if need be... Once you've got that end of the cove cut to the proper angle, nail it in place and go grab your putty and paint.
5. Putty. Paint. Paint again.
Barring the puttying and painting, the whole install process takes about 5-10 mins once you get the knack of it. Far quicker than it took me to write this half-helpful guide! I am now kicking myself for not taking more illustrative photos. But it wasn't until I tried to begin explaining the process that I began to see what sort of photos would be most helpful. We are all learning together.